How to Configure ADFS Web Application Proxy for ADSF
This post will cover the steps needed to configure the ADFS Web Application proxy.
What is an ADFS Web Application Proxy?
WAP provides reverse proxy functionality for web applications in the corporate network which allows users on most devices to access internal web applications from external networks.
The WAP should not be part of the domain and should be used as an standalone server.
To start the configuration, the SSL certificate used on the ADFS server needs to be installed on the WAP Server.
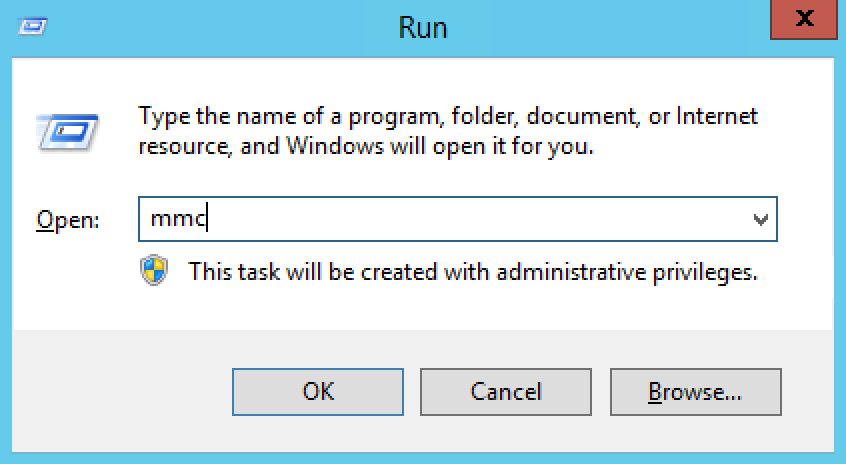
Open run, then type mmc
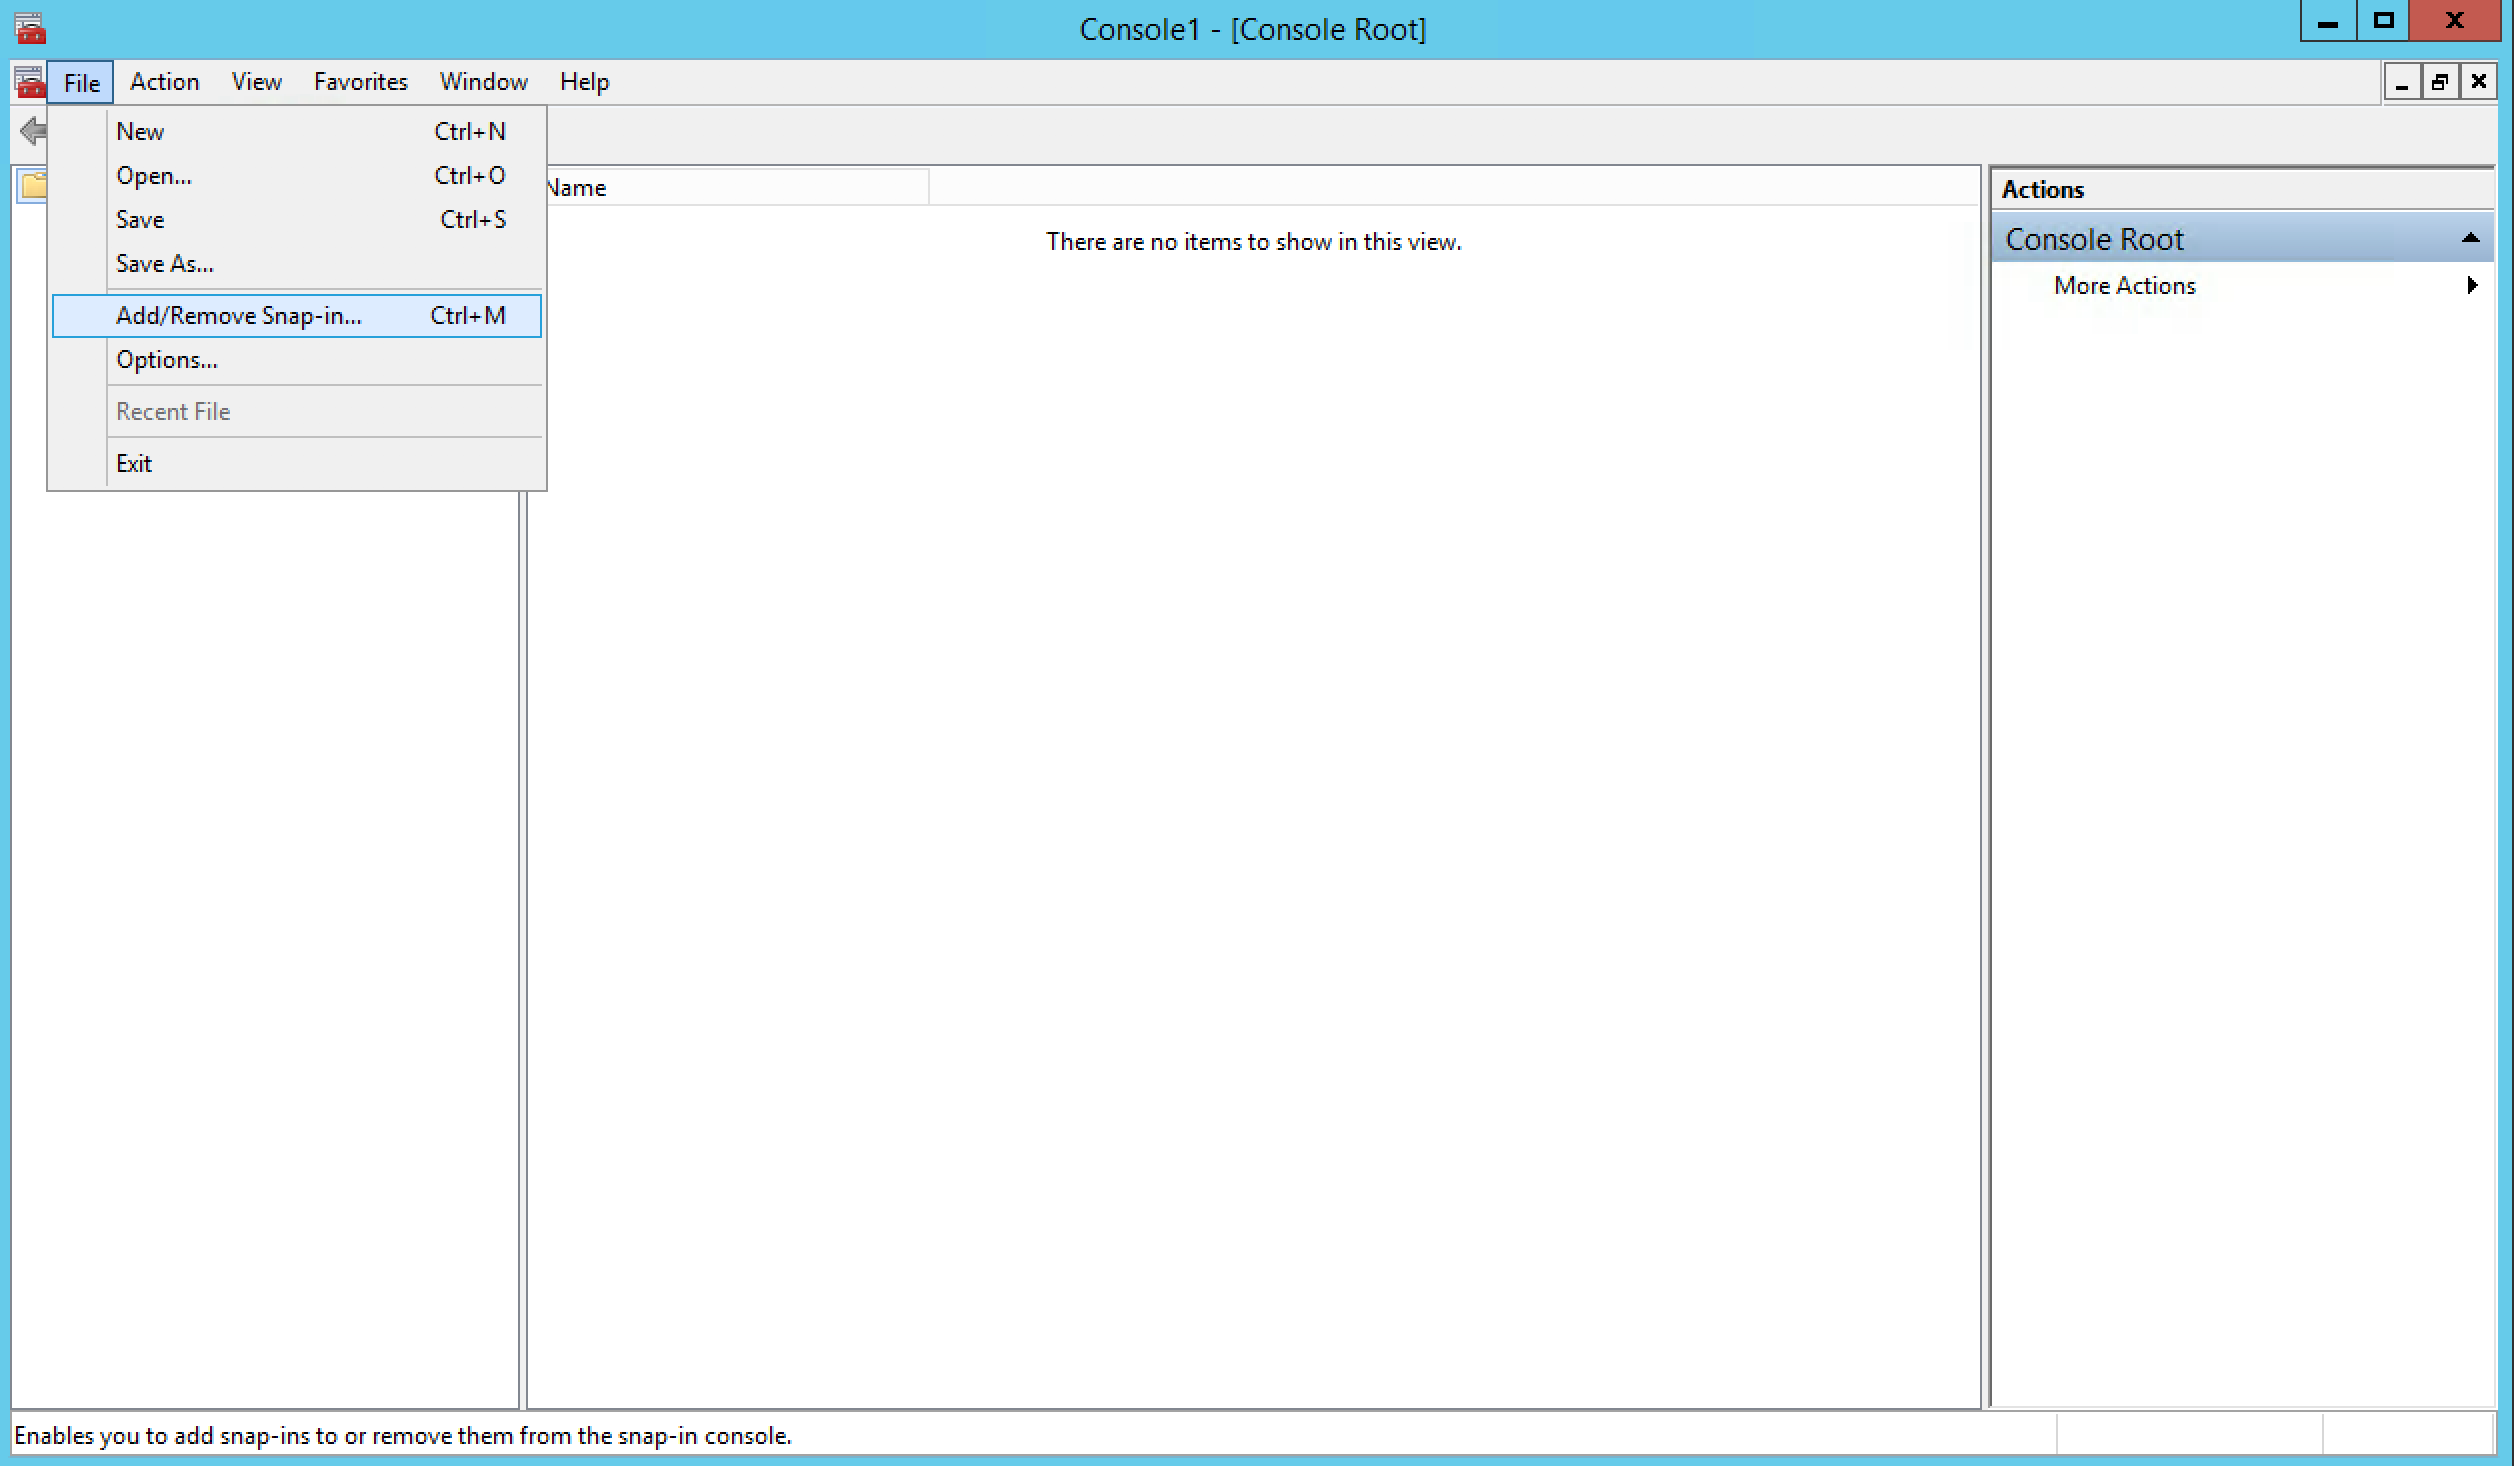
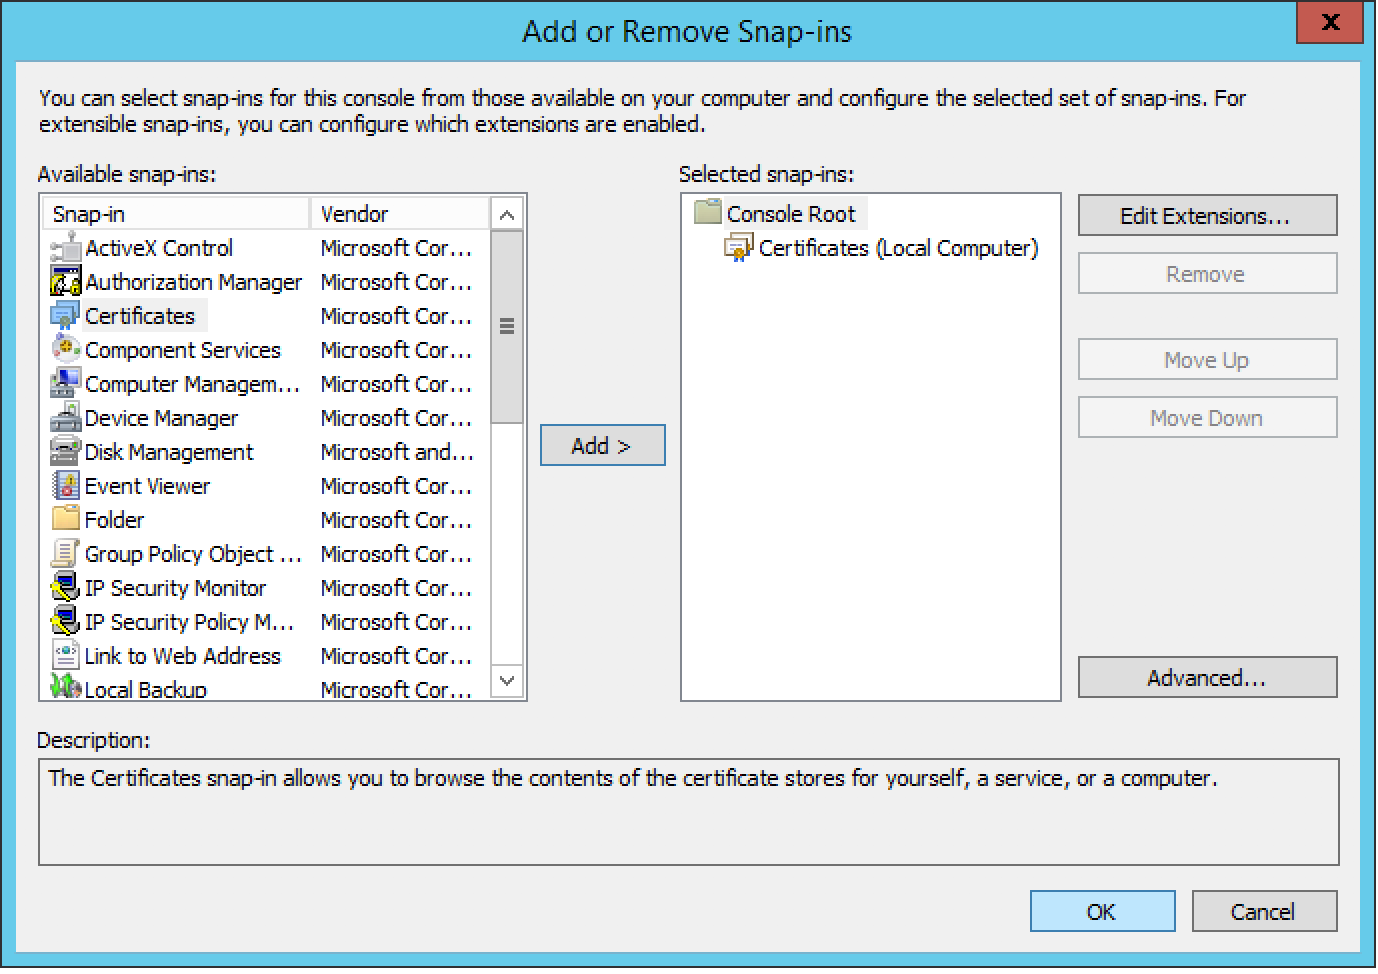
Once the mmc console is open , click on File >> Add /Remove Snap-In
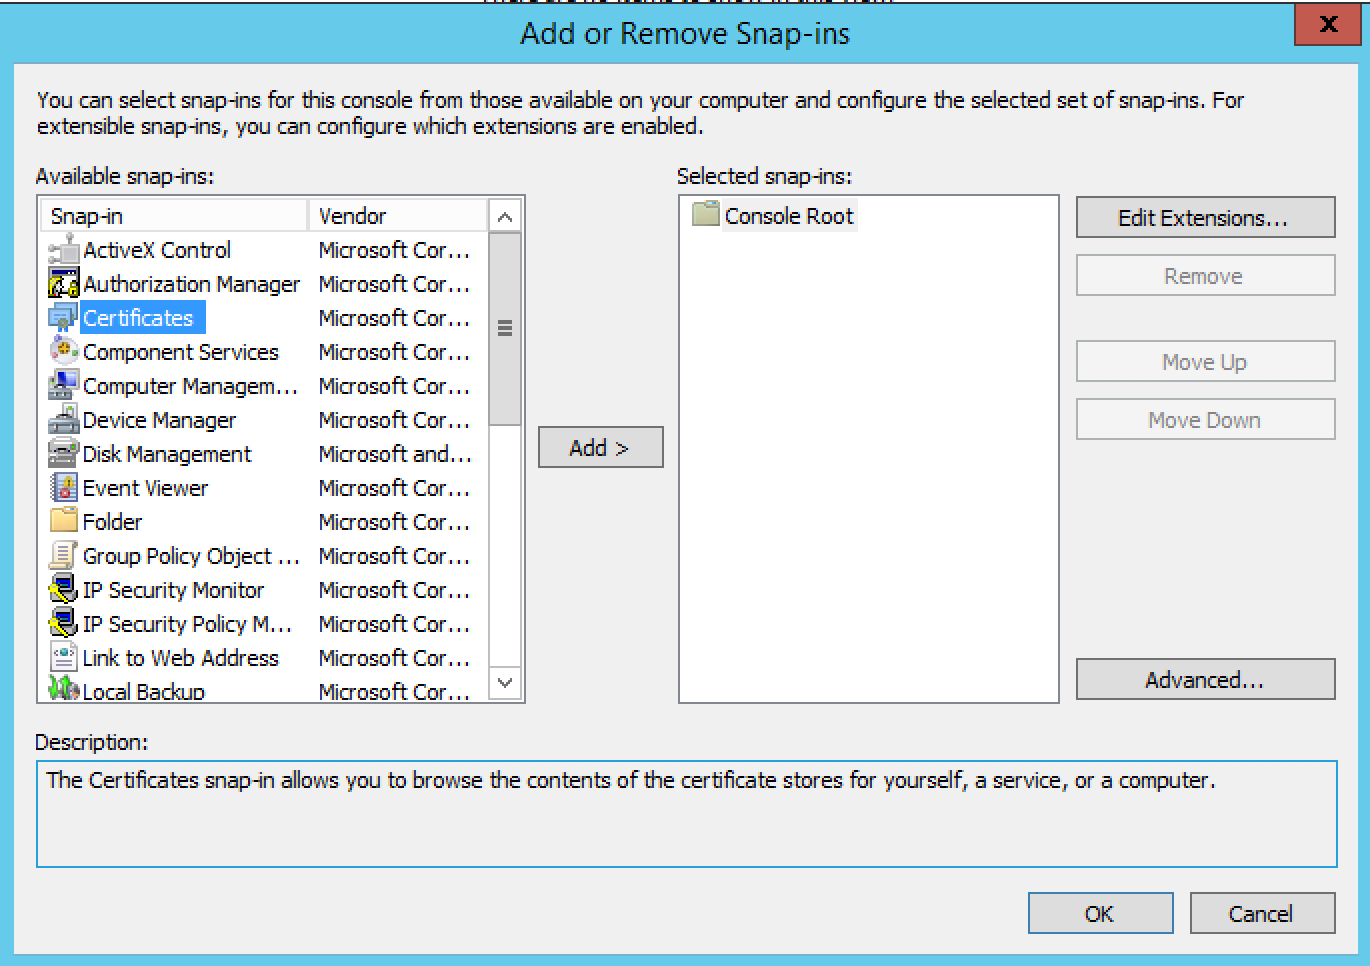
Select Certificates from the list and then click on Add.
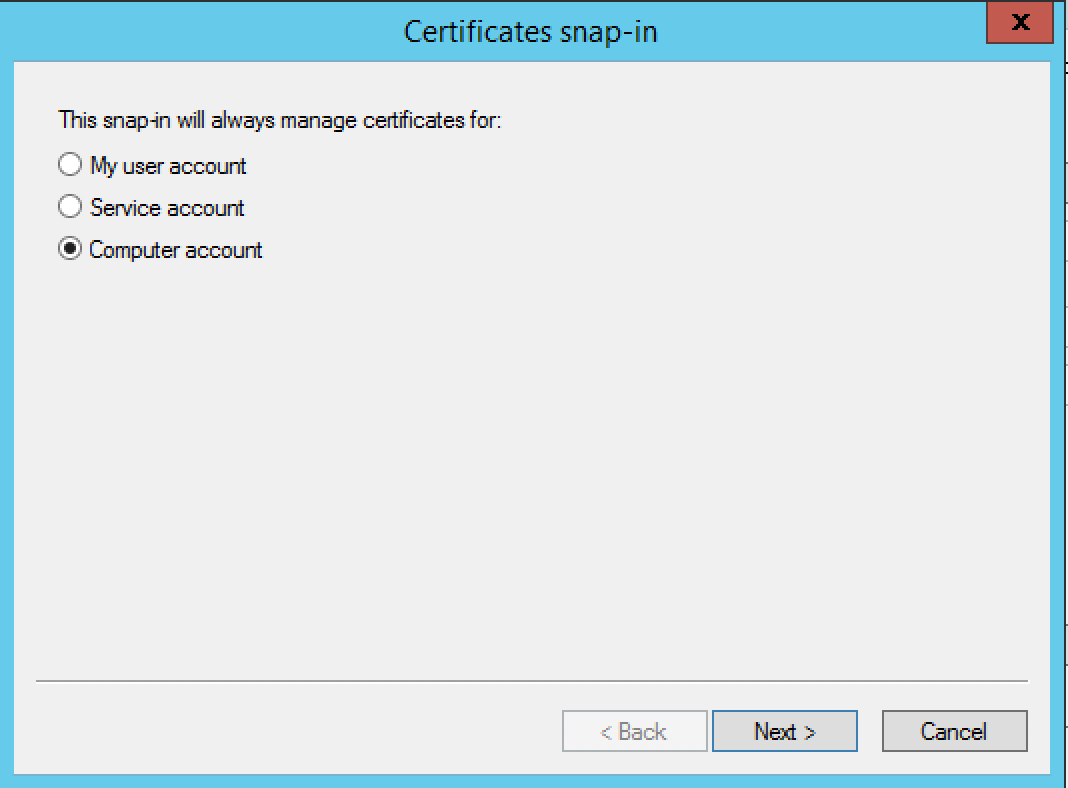
Select Computer account from the list, then click Next
Select Local computer, then click Next

To close the Snap-in , Click on Ok
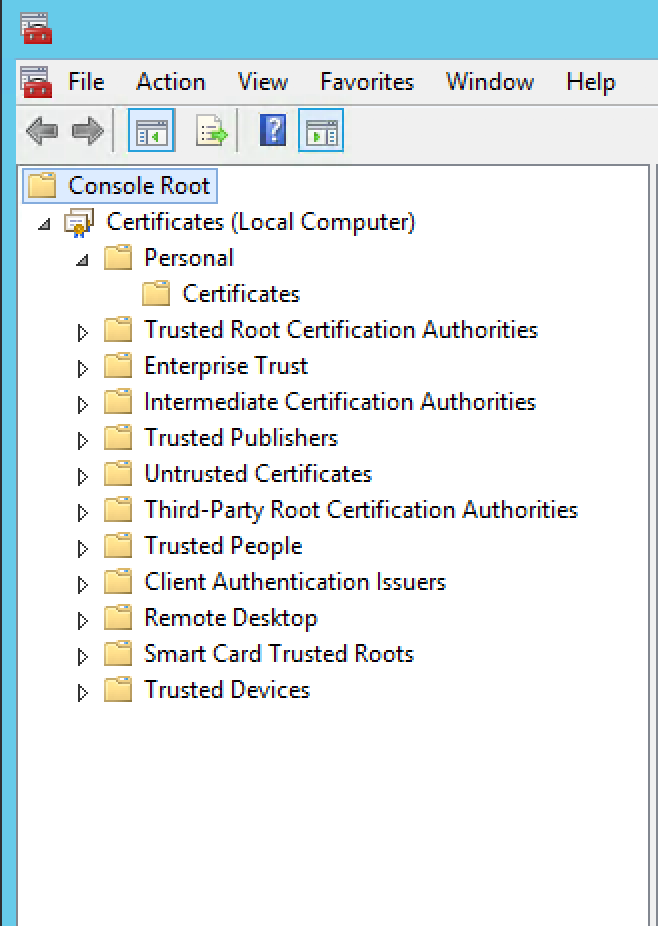
Expand Certificate, then expand Personal and click on Certificates.
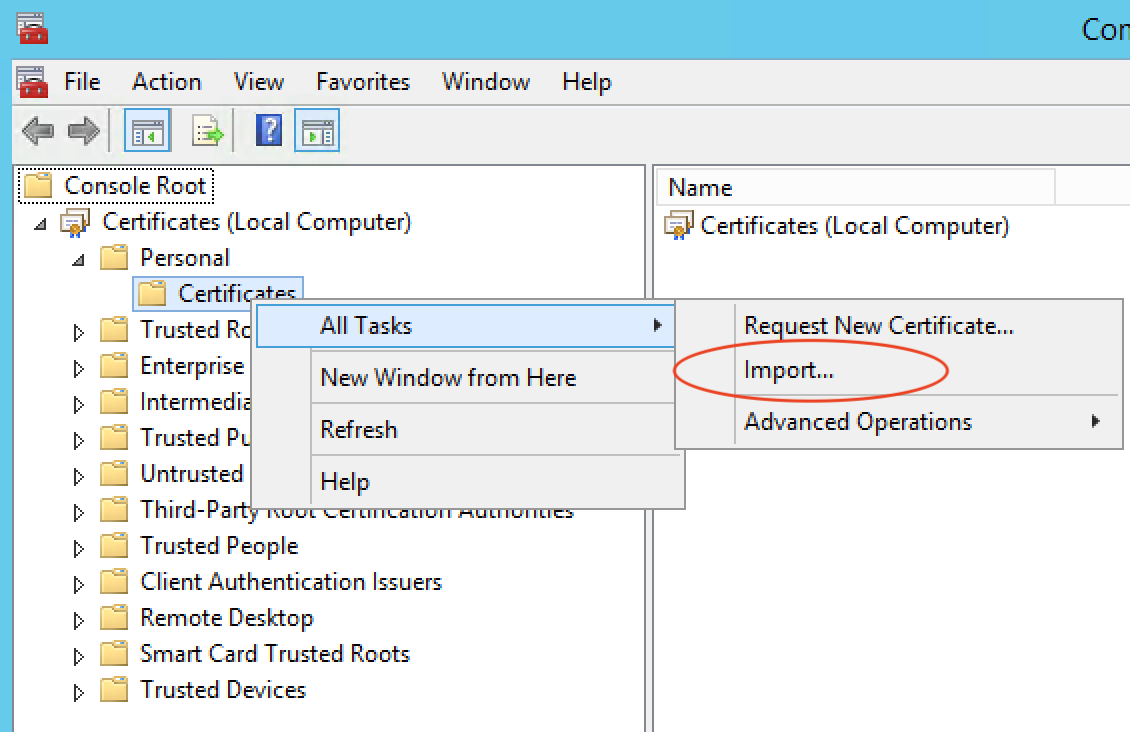
Right Click on Personal Certificates, then All Tasks and click on Import.
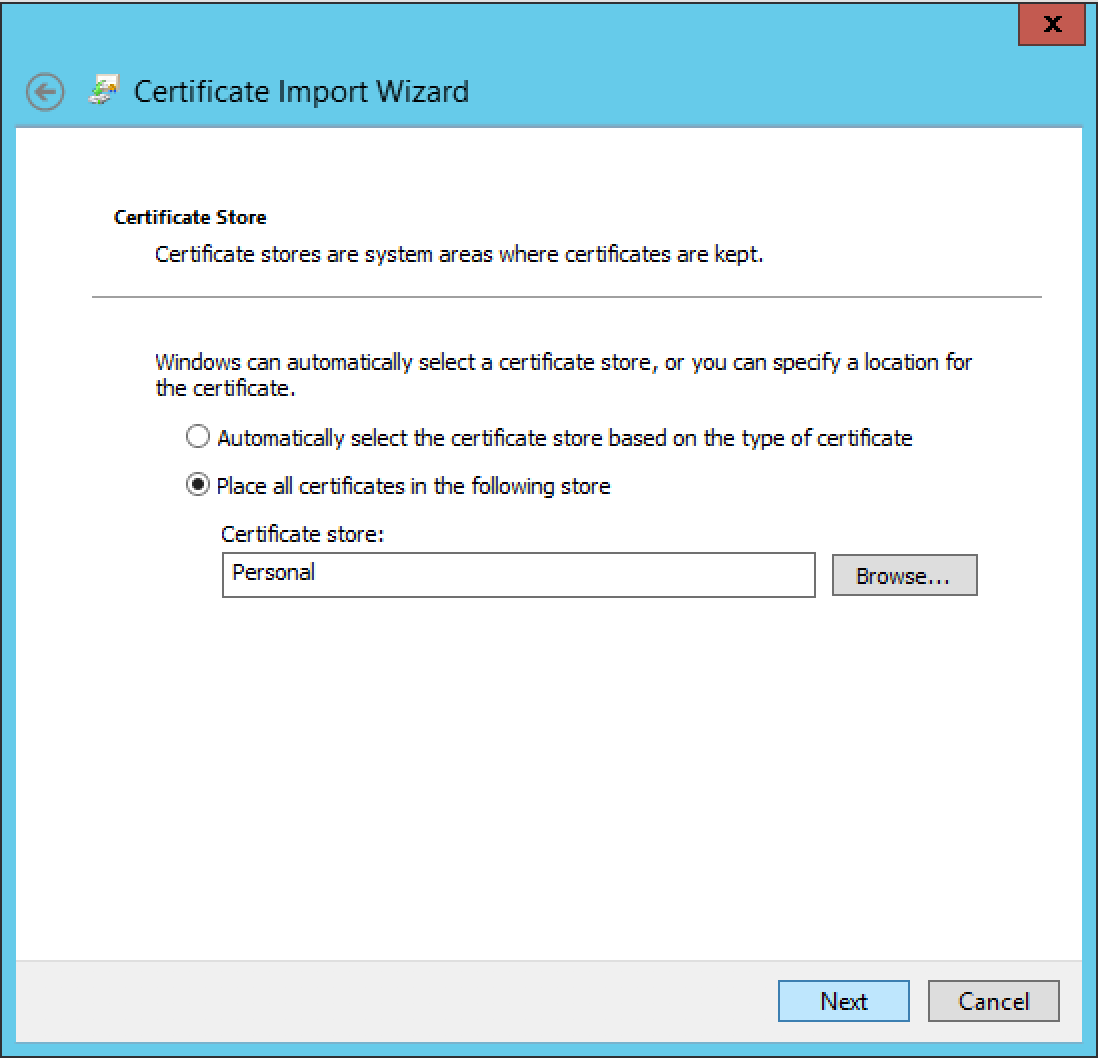
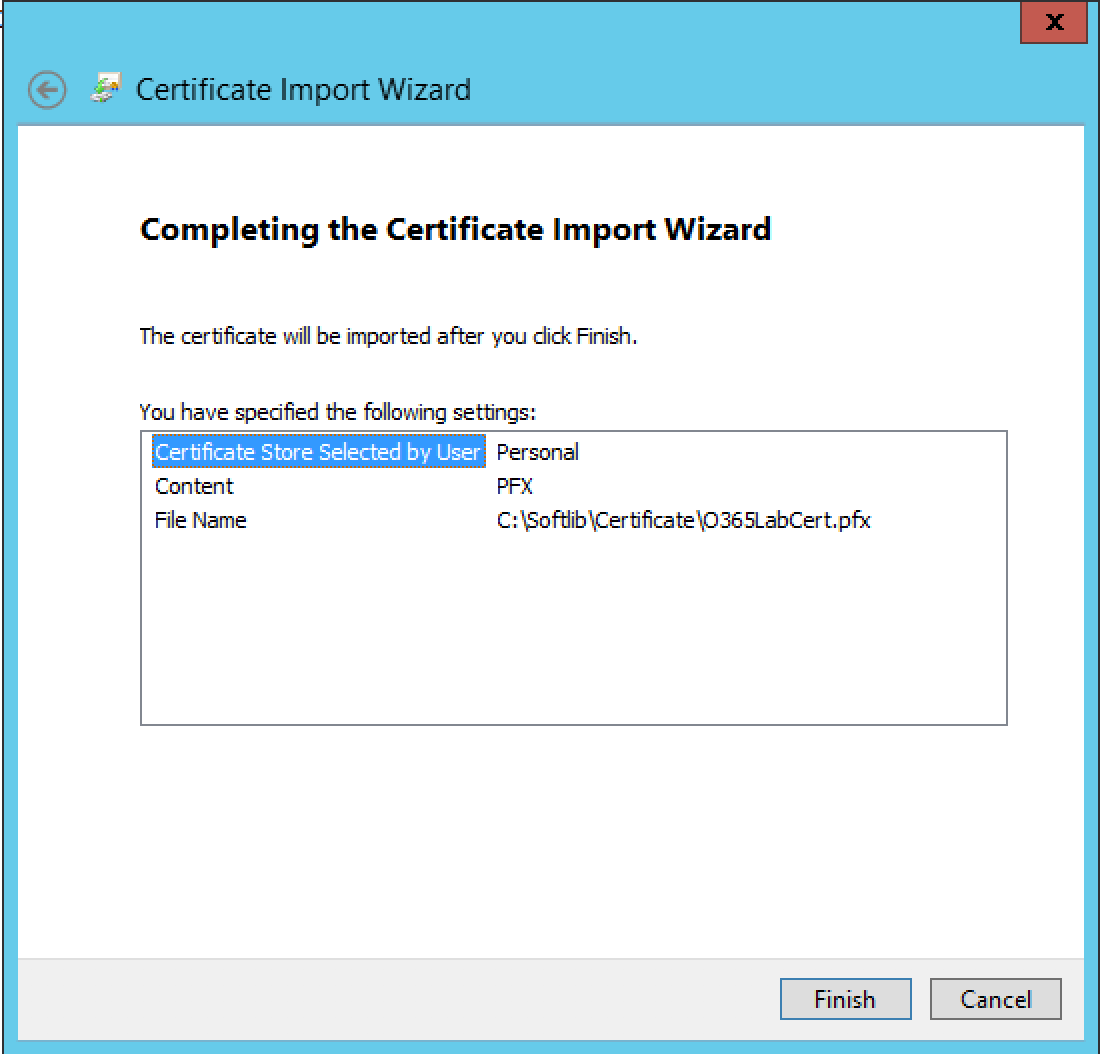
Follow the Import Wizard, then complete the Certificate import process.


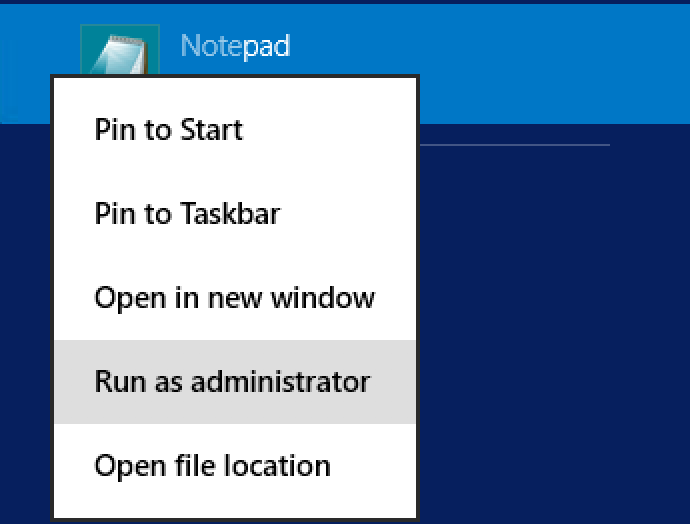
The next step is to edit the Host File and add and entry for the ADFS server. To open the Host file, Run Notepad as Administrator.
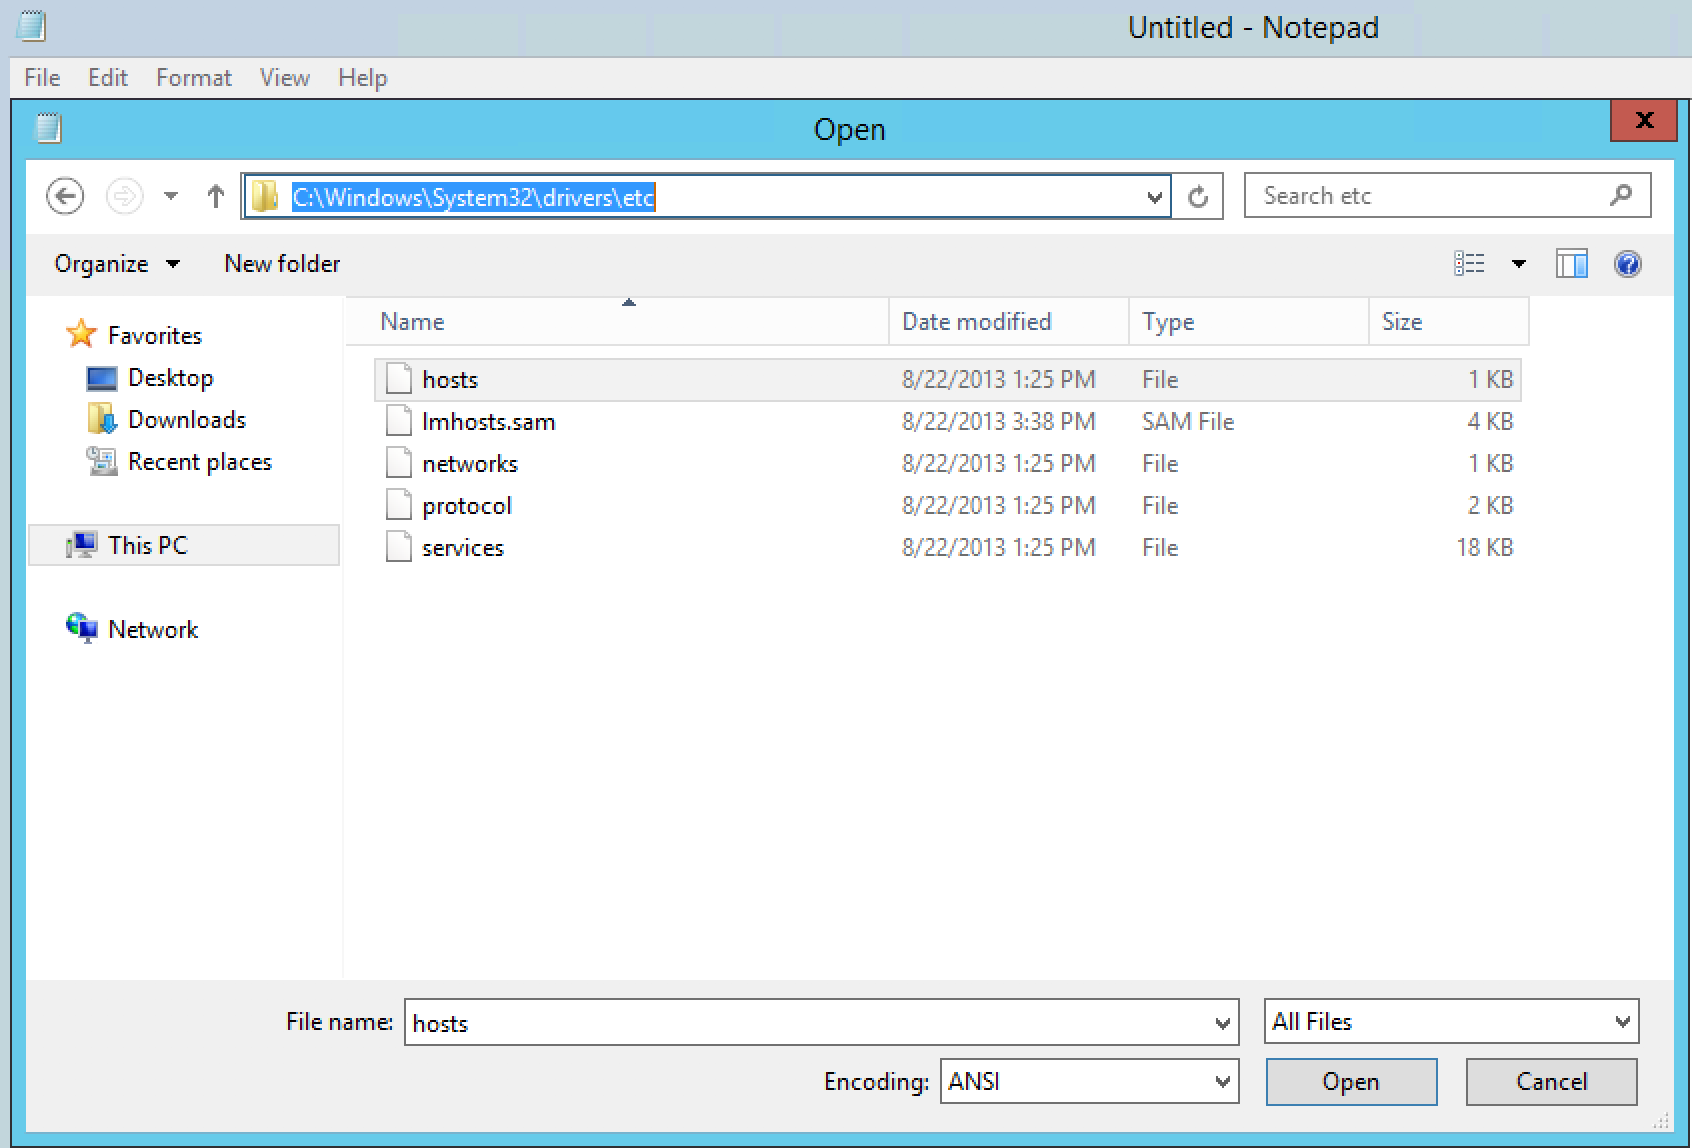
Location: C:\Windows\System32\drives\etc
Then navigate to the Host File location.
Modify the Host File, by adding the entry for the ADFS server with the associated IP.
Example: 10.2.0.14 fs.o365cloudlab.co.za

Click on File and then Save , to save the changes.

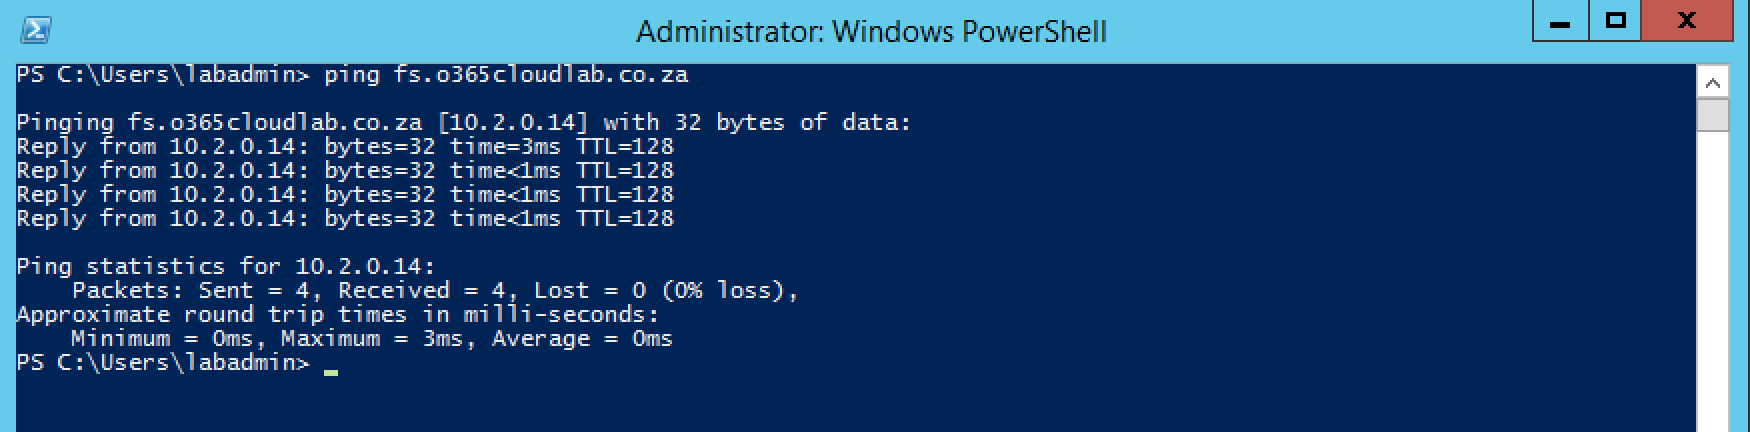
Lastly, lets ping the new entry from the WAP server, you should receive a response.
From a PowerShell session, run the following to start the installation process of the Web Application Proxy role.
|
1
|
add-windowsfeature web-application-proxy
|


Once the Installation has been completed, run the following in the same PowerShell Session to restart the Server.
|
1
|
Restart-Computer
|

Log back in to the server with the same credentials and Navigate to Server Manager and complete the configuration Process of the Role.

When you click on “Open the Web Application Proxy Wizard”, you are prompted with the following Error.

The RSAT-Administration Modules has not been added to the Server, to resolve this Error. Run the Following in PowerShell.
|
1
|
Add-WindowsFeature -Name RSAT-RemoteAccess -IncludeAllSubFeature
|


Close the Server Manager Console and Launch it again.
The Web Application Proxy Wizard will open, then Click on Next

On the Federation service name, add the DNS name for the ADFS server which was specified in the Host File. Then provide a domain username and password.

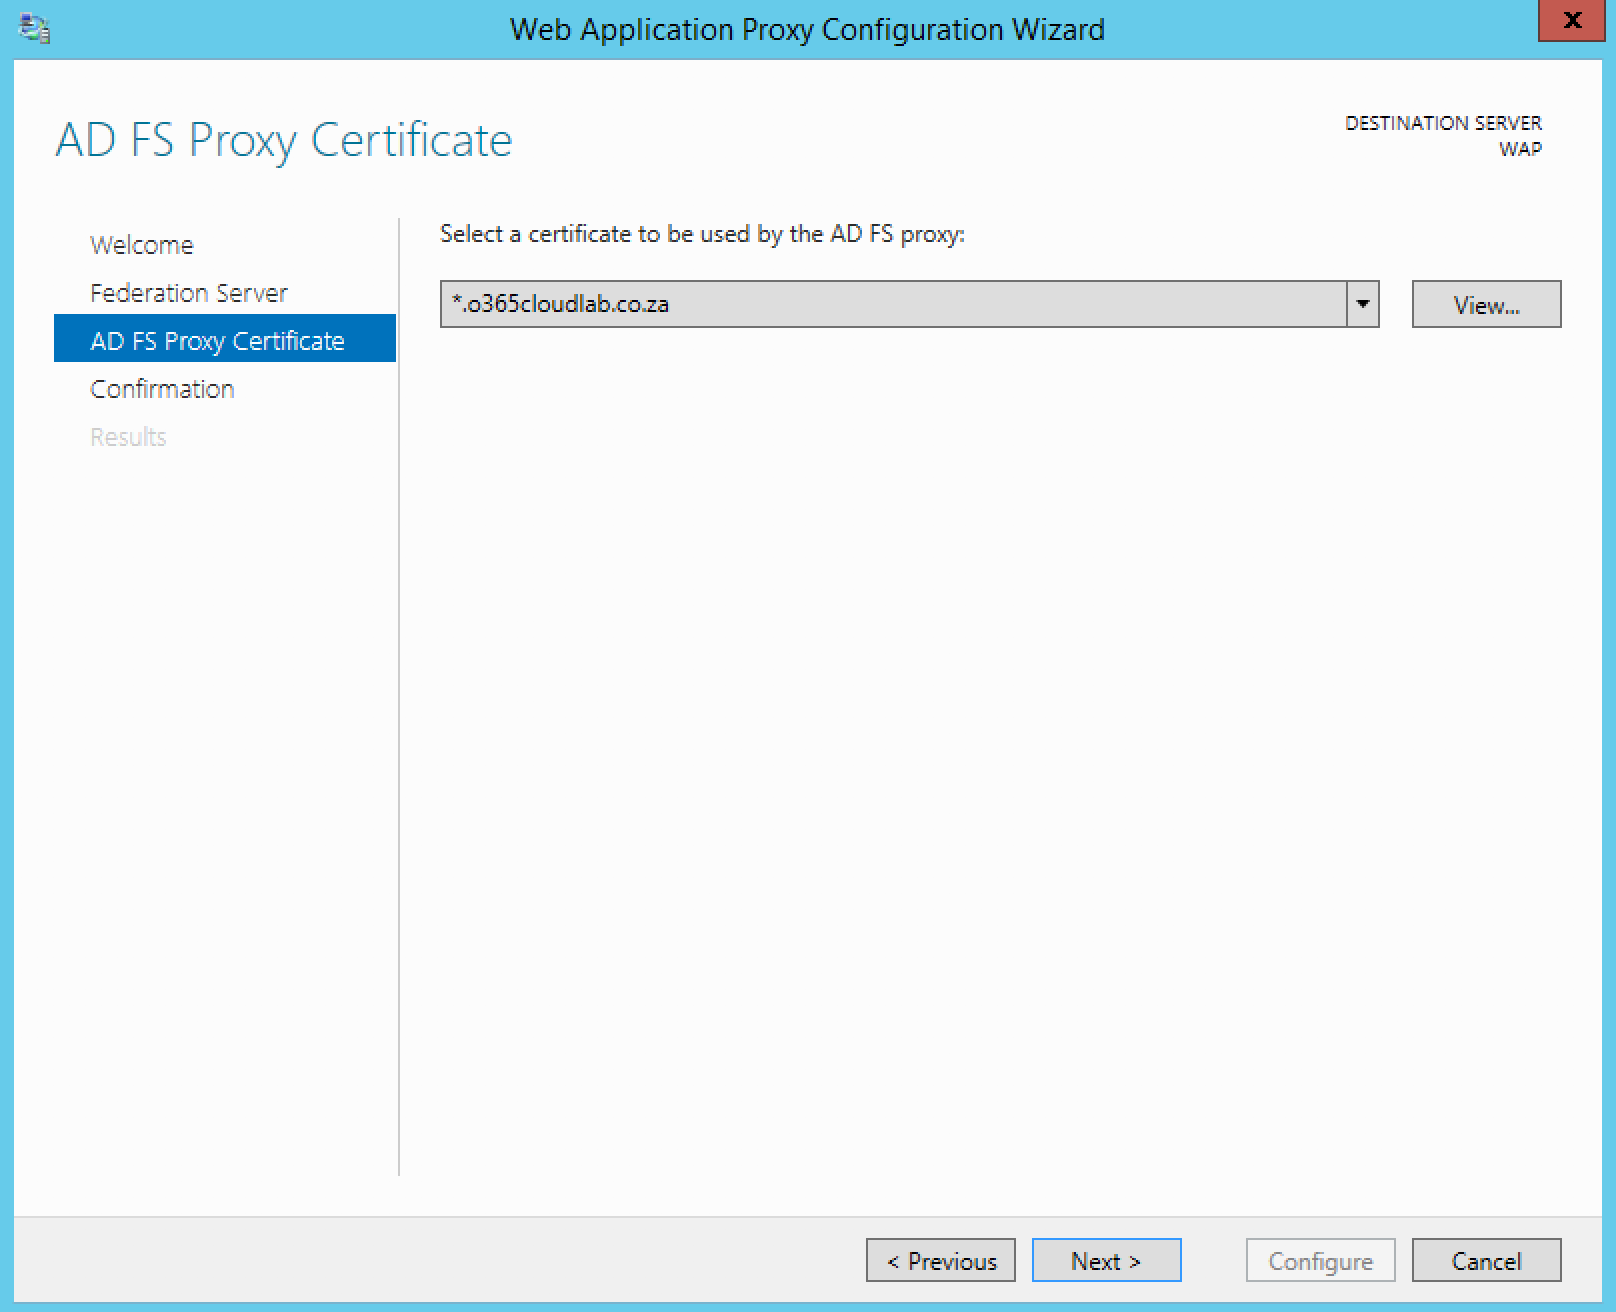
Select the certificate which was installed during the beginning of the deployment and then click next.
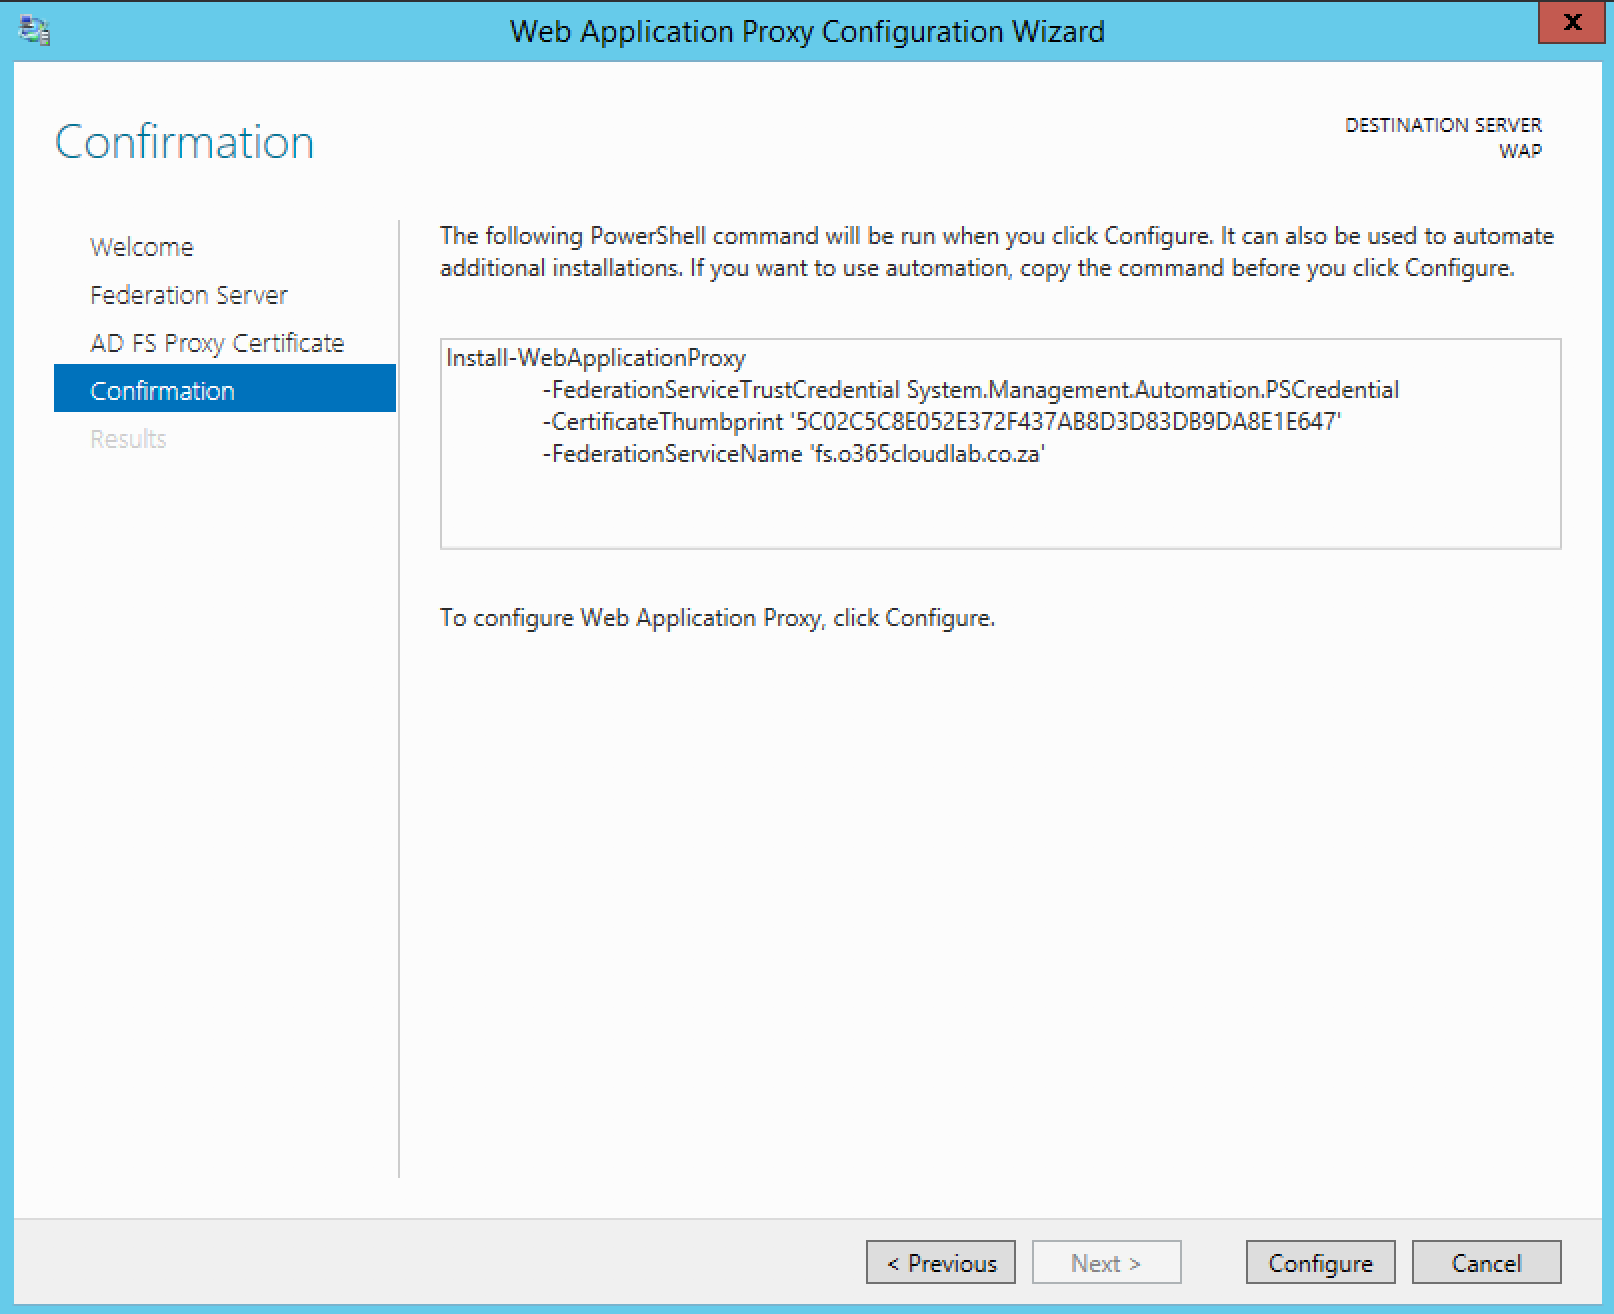
The final screen will show a confirmation screen before the configuration starts. It also shows you a PowerShell version of what will be configured.
The following PowerShell script can be used to configure the same.
|
1
2
3
|
Install-WebApplicationProxy -FederationServiceTrustCredential System.Management.Automation.PSCredential
-CertificateThumbprint ’5C02C5C8E052E372F437AB8D3D83DB9DA8E1E647′
-FederationServiceName ’fs.o365cloudlab.co.za’
|
To continue, Click on Configure.
Click on Close, when the configuration is done.

From the Remote Access Management Console, Click on Operation Status and make sure that all is green.

From a Machine that is connected to the internet but not part of the network verify that you can reach your ADFS server by clicking on the following link.
https://fs.<YourDomainName>/adfs/ls/IdpInitiatedSignon.aspx

Verify that you can sign in.

On successful logon you will be redirected to s screen showing the logout icon. This mean that you have successfully connected from external.
